
So here are the easy instructions on how to make your own fabric broach!
here is what you will need for this project:
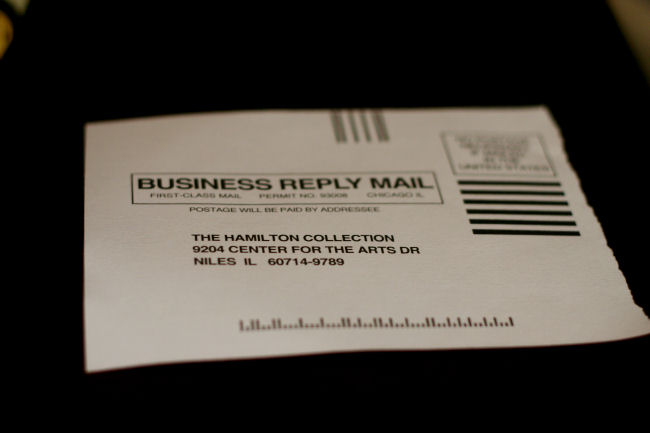
2 pieces of thick paper (I used magazine subscription cards)
a marker
scissors
scraps of fabric (around 1/8 yard)
1 piece of felt in coordinating color
thread
sewing needle
straight pin
safety pin
3 beads (optional)
Here is how to do it:
Start with your paper or insert and draw a flower shape on it. Try to make it the same on both sides, so when folded in half it matches up.
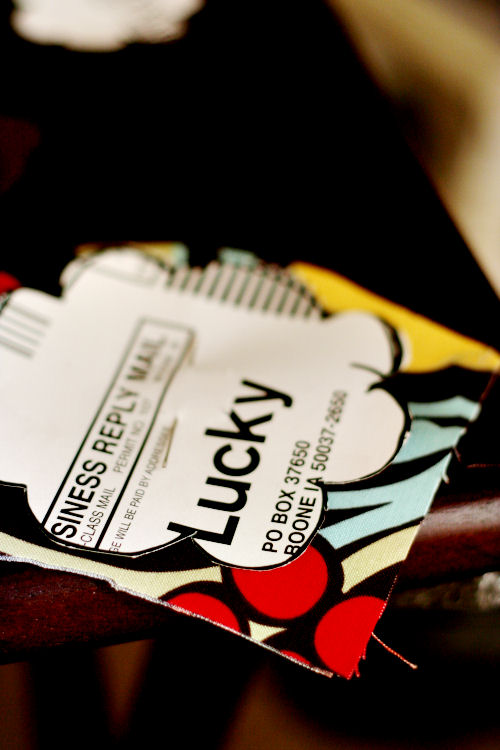
Draw one flower to the final size you want your broach, and draw one smaller to fit in the middle. Cut them out.

Pin your smaller flower to your felt and cut out one flower shape.

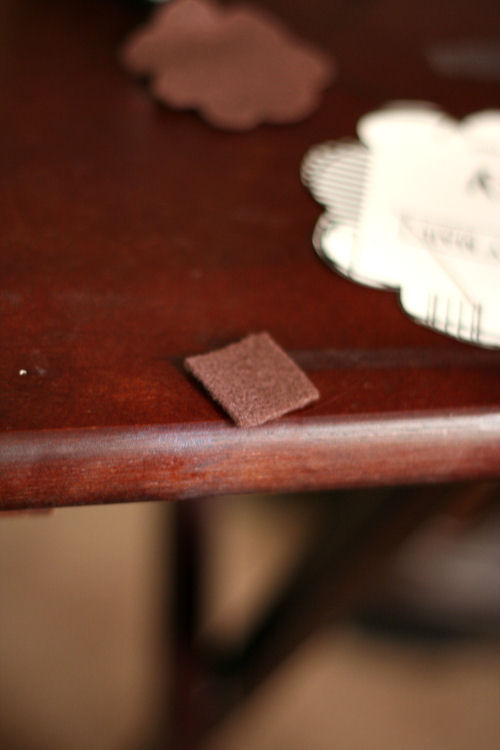
Next, cut out a small square out of the felt to use as backing.
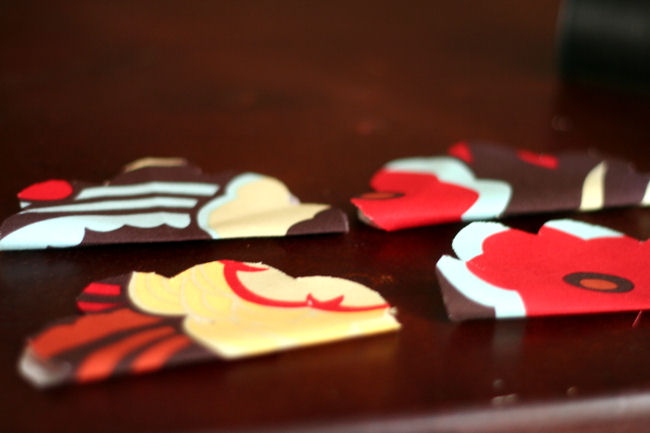
Pin your fabric scrap to the large flower (this fabric is doubled over) and cut out 4 individual flowers.
If your fabric is doubled over, then you only cut the flower out twice to get 4 flowers.

Fold all of your flowers in half
Now, lay out two pieces, one vertical and one horizontal
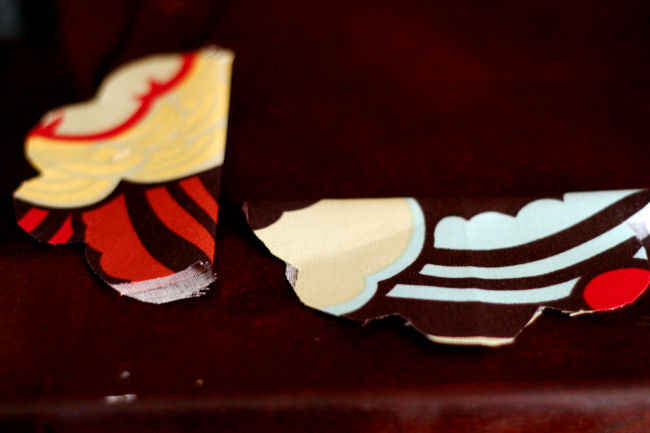
Over lap one on top of the next

then lay another flower on the bottom layer
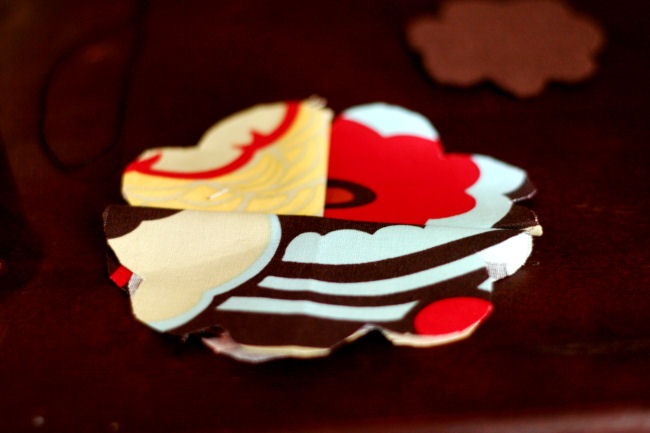
and then weave the last one so that each flower has a section on top and one on the bottom.

Next, get your needle ready by pulling a section of thread (about 18 inches long) through, then double it over and tie a knot on the end. Push your needle through the felt square so you can sew this to the flowers.

Flip your flower over and sew through one of the flowers in the middle, connecting the felt to the flower.
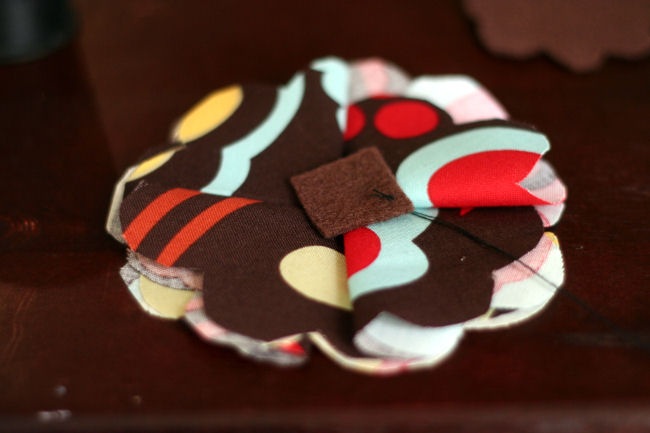
do this through all of the flowers so they are all connected to the felt and to each other.

flip the flower back over so it is right side up. Place the felt flower on top in the middle and sew up through the middle then to the back. Repeat this step a couple of times so that the flower is secure.
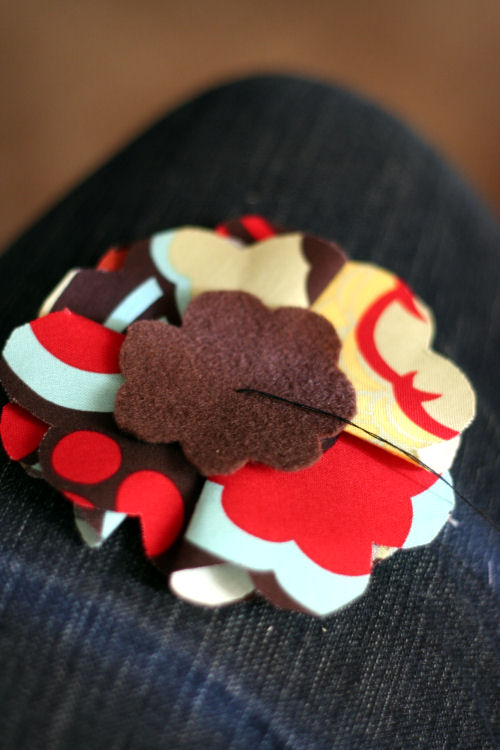
Next, string your beads onto your needle and thread and sew on. Finish your thread by tying a knot on the other end. Now you can hot glue a straight safety pin on the back, or you can use a regular safety pin to pin to clothing temporarily!
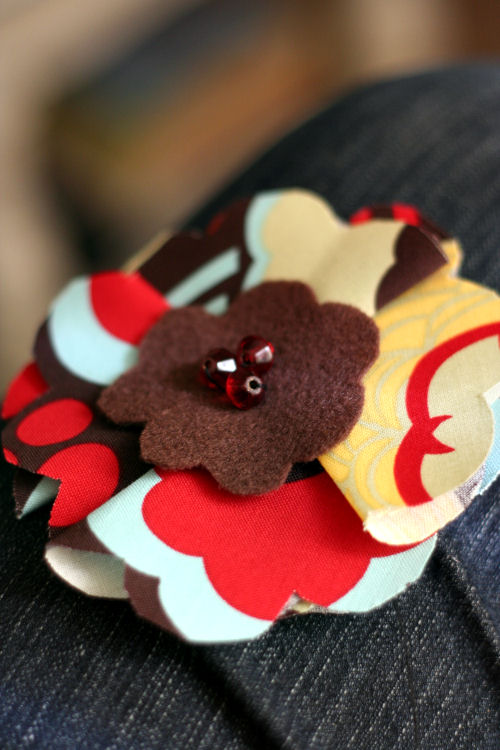
That's it, your done! The entire process took me about 20 minutes, but I was pausing to take pictures all along the way! :)
If you make your own version, blog about it and link it back here, then tell me you made it so I can share it on the blog!
3 comments:
That's so cute, Nikki! Thanks for the tutorial!
thanks for the tutorial! I'll have to try it sometime!
I just made this today! I love it. Super easy and cute. :) Thanks!
Post a Comment